Here is a quick How-To Guide on how you can Add, Edit, and Remove an agent in your EstateVue broker instance.
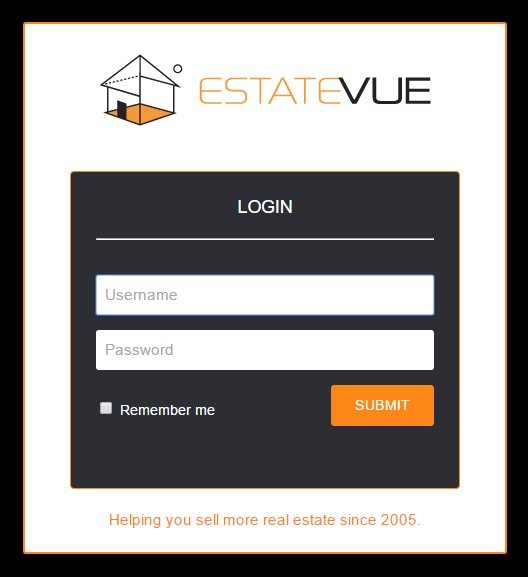
- The first step is to login to your EstateVue Admin Panel.

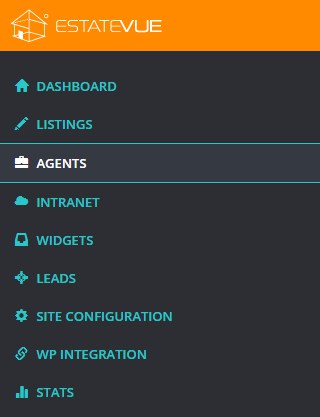
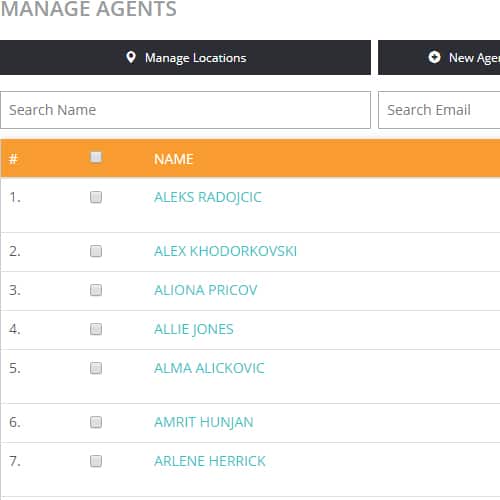
- Then in the menu on the left hand side click on "Agents" and you will be taken to a list of all of the agents currently in your instance.

Add an Agent
- To add an agent you simply need to click on the "New Agent" button.

- You then just need to fill out the fields you wish to fill out for the agents information. Then click the "Save" button located at the top and bottom right of your screen.

Editing an Agent
- Once you have clicked on the "Agents" button in the left hand menu, you will see the list of agents. To edit an agent you simply just need to click on the agents name to edit their profile.

- Then click the "Save" button located at the top and bottom right of your screen.

Removing an Agent
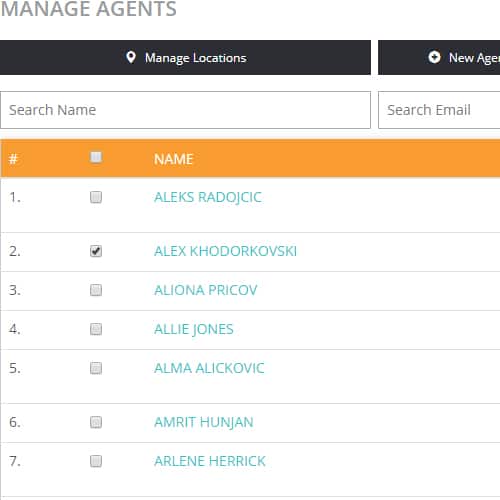
- Once you have clicked on the "Agents" button in the left hand menu, you will see the list of agents. To remove an agent you simply just need to click on the checkbox next to the agents name.

- Once you have done this you just need to click the "Remove Agents" button.

That is all you need to do to add, edit, or remove an agent. If you have any questions or need assistance, contact us today.


 Mon-Fri: 8:30-5:00
 #7 3185 Via Centrale, Kelowna BC


