

 Mon-Fri: 8:30-5:00
 #7 3185 Via Centrale, Kelowna BC


Have you noticed that a new listing or listing changes have not been updated on your real estate site? Here is why!
In some cases when a new listing is published or changes to a listing have been made, they do not update on your website right away. This is due to caching in the EstateVue plugin.
What is Caching?
The browser cache is a temporary storage location on your computer for files downloaded by your browser to display websites. Files that are cached locally include any documents that make up a website, such as html files, CSS style sheets, JavaScript scripts, as well as graphic images and other multimedia content.
Why is it Important?
When you revisit a website, the browser checks which content was updated in the meantime and only downloads updated files or what is not already stored in the cache. This reduces bandwidth usage on both the user and server side and allows the page to load faster. Hence, the cache is especially useful when you have a slow or limited Internet connection.
Does caching prevent new users from seeing my new listings?
No, any new visitors to your site will download a fresh / new copy of your website, allowing them to see the new information. Caching only affects websites that have been to your site before.
How long does the cache last?
The cache is currently set to 24 hours, but it can be modified in the admin for lower increments to minimum value of 1 hour.
How to clear the Estatevue plugin cache
Here is a step-by-step guide on how to clear the EstateVue plugin cache to see your listing changes:
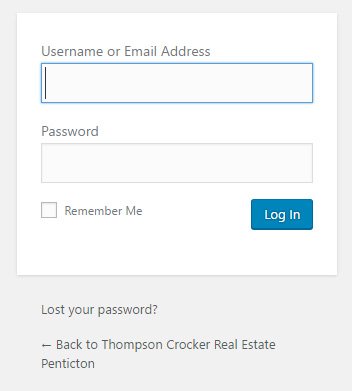
- Login to the backend of your WordPress website.
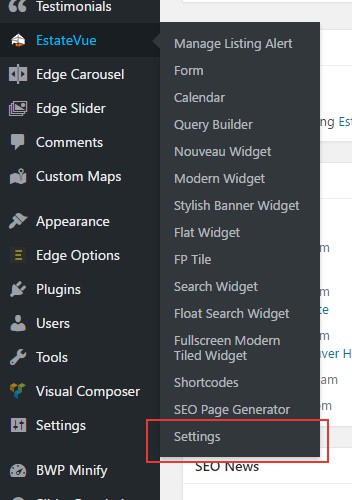
- Hover over "EstateVue" in the left hand menu and click on "Settings"
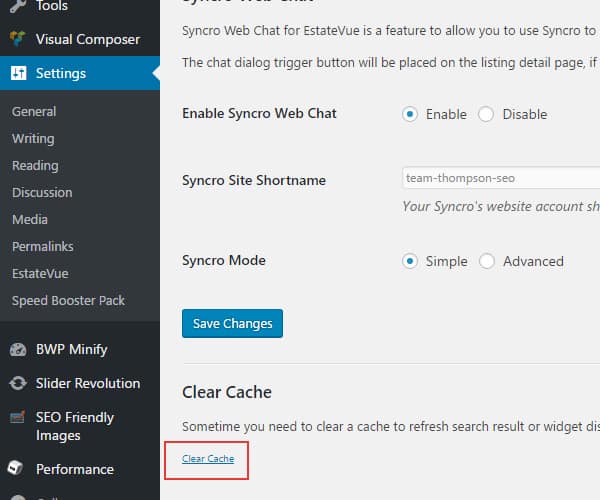
- On the "Settings' page scroll down to the bottom of the page and you will see a link that says "Clear Cache." Click that link.
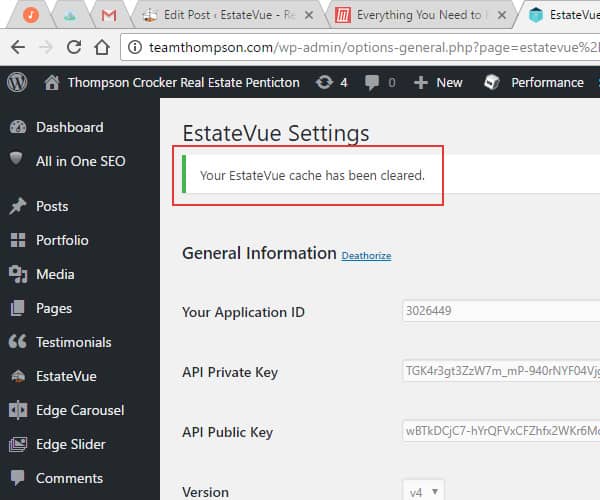
- The cache will now be cleared and the page will reload. Once this process has finished you will see a notification at the top of the page letting you know that the cache has been cleared.
- Now go back to the front end of your website to the listings page. Refresh the browser and your listing updates should now show up.
- You are done!